

A good wobble GIF does not move every pixel. It keeps the background and important details stable while one flexible area—hair, fabric, a cheek, an ear, a tail, or a soft product—bends and returns in a readable loop. That contrast is what makes the result feel attached instead of pasted on.
This guide uses Purupuru Maker because the full workflow runs locally in the browser: open an image, paint a motion mask, compare presets, tune the movement, and export. The same planning principles also apply in layer-based editors, but a live mask makes the relationship between selection and motion easier to see.
Before you animate: choose a source that has room to move
Start with a PNG, JPEG, or WebP that you own or have permission to edit. A clean subject and a little empty space around the flexible detail produce the easiest result. Tight crops can push a moving ear or ribbon against the edge, while busy backgrounds make small motion harder to read.
For a first attempt, resize a large camera photo before editing. The studio accepts files up to 10MB, but a moderate social image is easier to preview and share. A suitable source has a clear flexible detail and open space around it; a difficult source has a tight crop, patterned background, or text crossing the intended mask.
Four steps from still image to looping GIF
Work in order. A strong preset cannot repair an unclear selection, and a perfect mask cannot help if the subject has no space to travel. Save extreme settings for the end, after the restrained version already reads correctly.
1. Upload and inspect the attachment point
Open the image in the Studio and identify where the flexible part connects to something firm. Hair connects at the scalp, a sleeve at the shoulder, an ear at the head, and pudding at the plate. That attachment point should move less than the free end. Before painting, name the anchor, flexible center, and free edge so each brush pass has a purpose.
2. Paint a large center and a softer edge
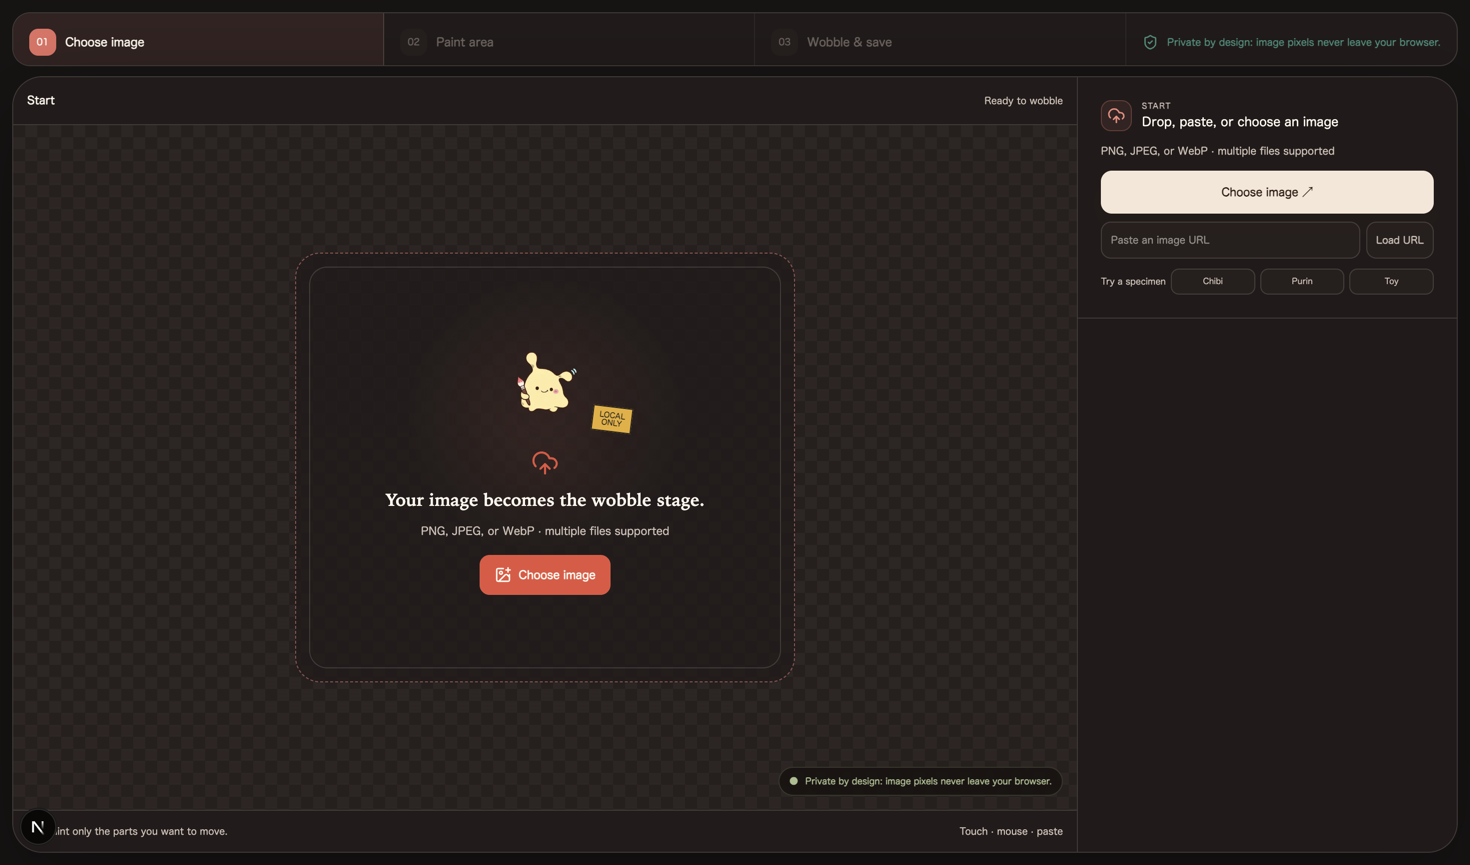
Use a medium or large brush for the flexible center, then lower strength and make a second pass near the boundary. A practical hair starting point is brush size 32, strength 55%, with the roots left mostly unpainted. For a round dessert, try brush size 80 and strength 70% across the center. Erase paint that touches the stable background.
3. Compare motion presets before fine-tuning
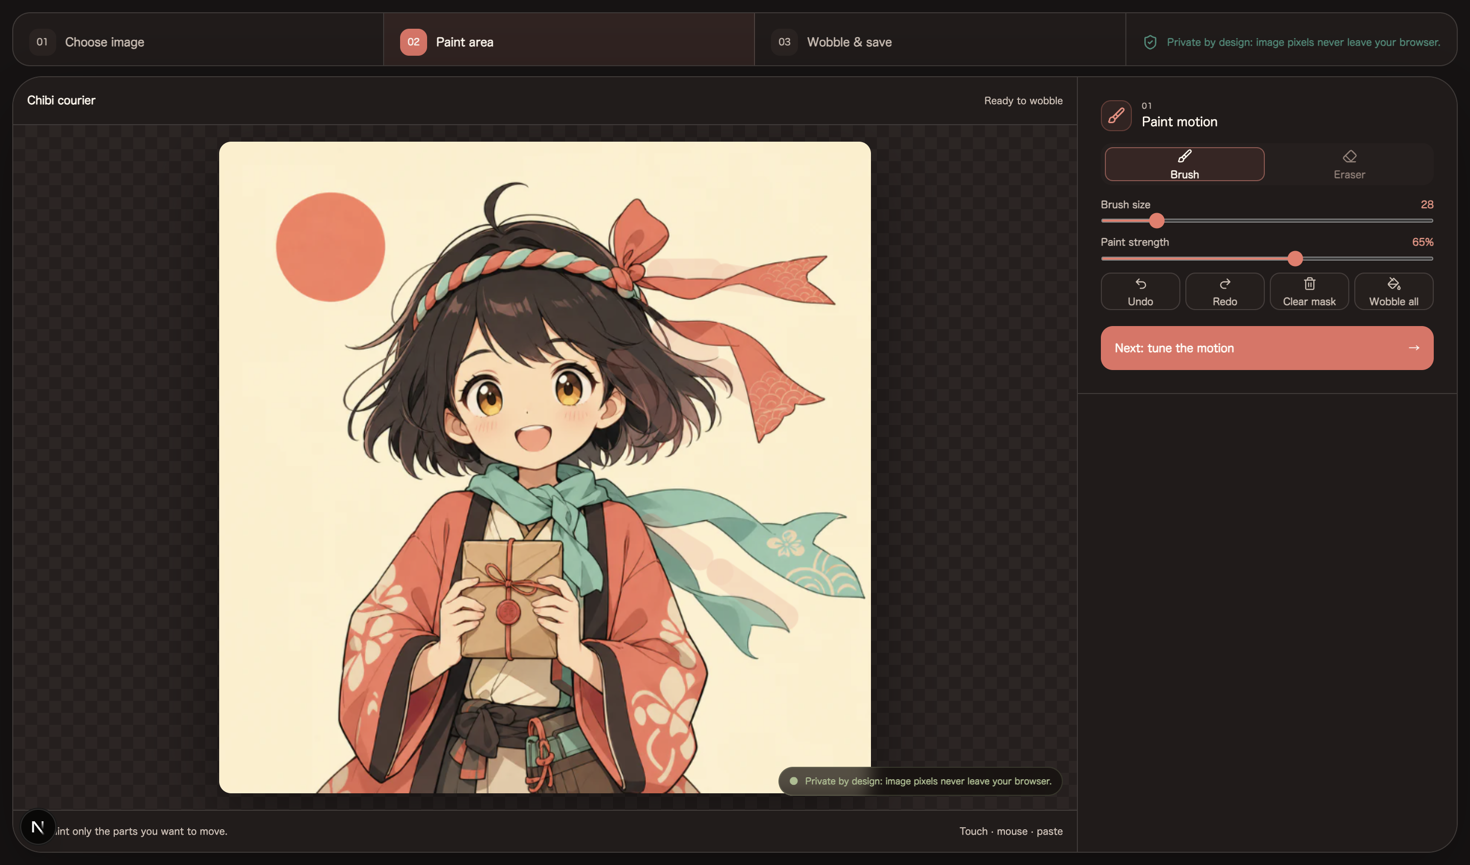
Preview at least two full loops with the same mask. Jelly gives round shapes a soft two-axis wobble; Sway favors side-to-side movement; Bounce creates a vertical beat; Wave follows a rolling path; Pulse expands and settles; Quake makes fast, irregular movement. Keep the source, mask, and viewing size unchanged while comparing presets.
4. Export and test at the destination size
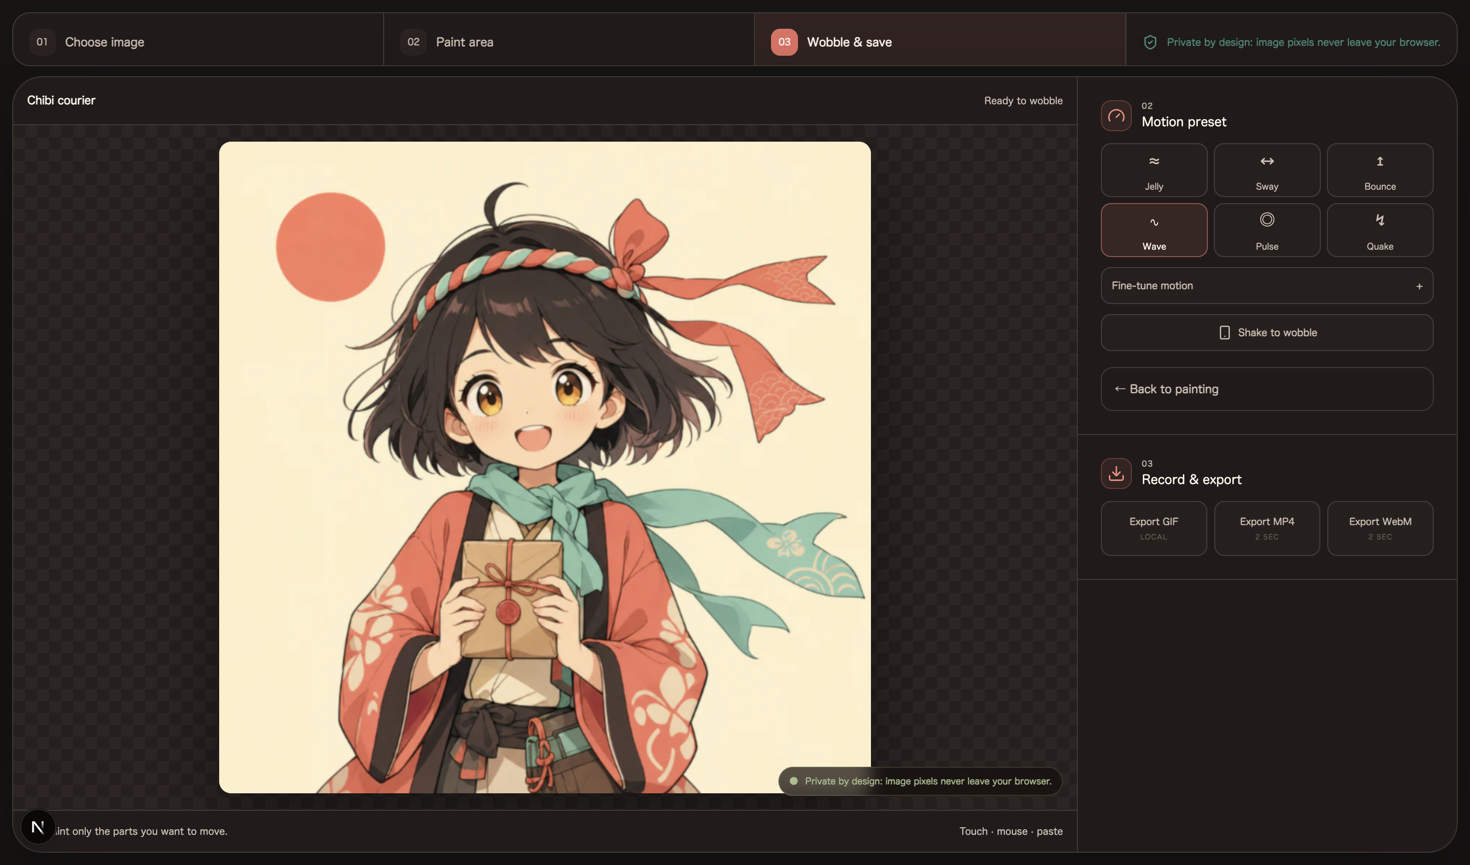
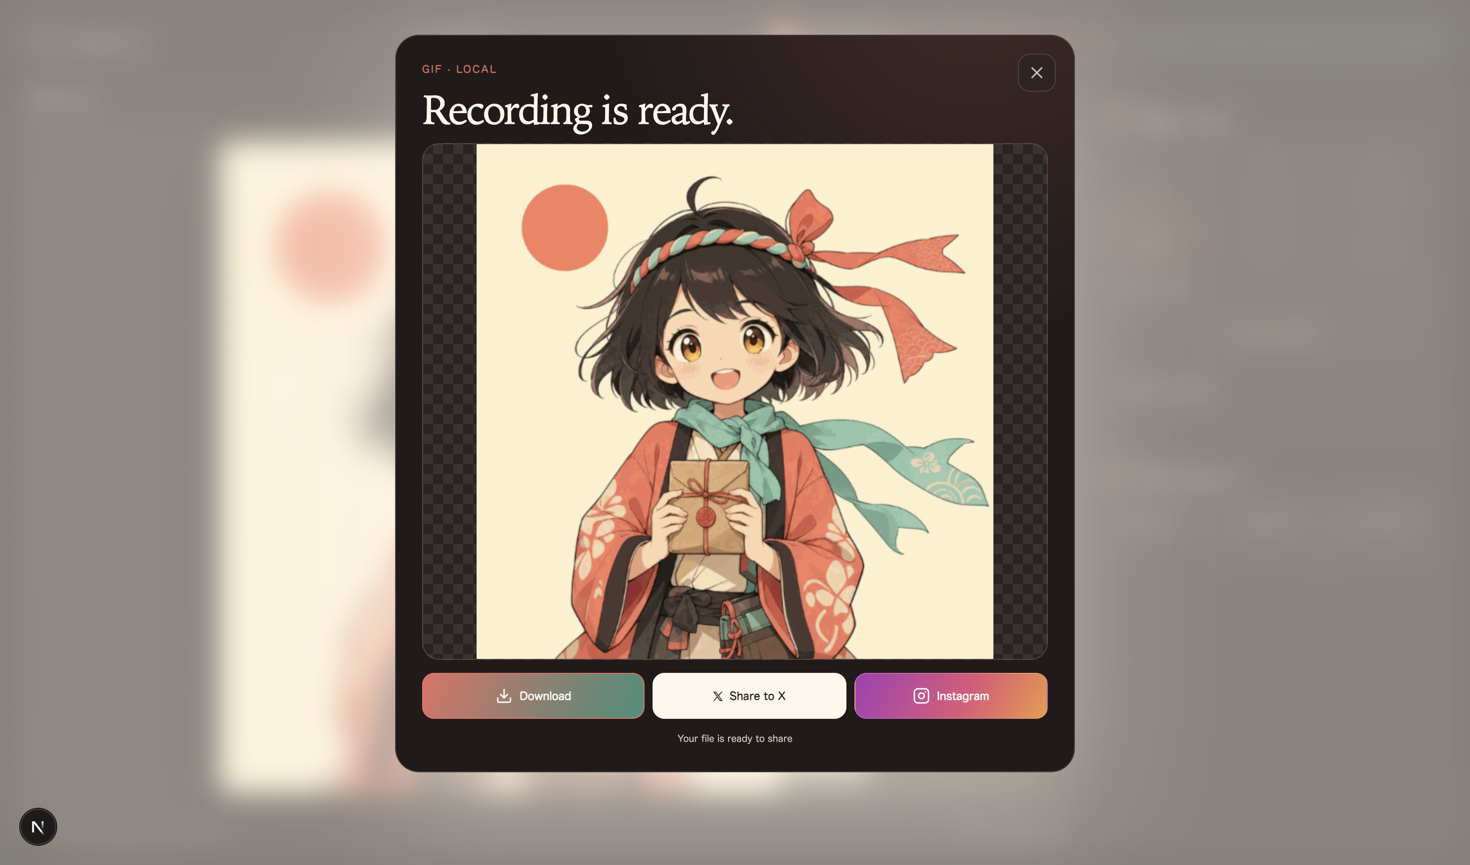
Choose GIF for chats, forum posts, and places that expect a looping image. Open the downloaded file once, then view it at the size where people will see it. Check the first-frame appearance, edge shimmer, crop, and return to the beginning. If color or file size is the priority, compare the same motion as WebM or supported MP4.
Preset and parameter starting points
These values are recipes, not universal answers. Image scale and mask strength change how every number feels. Adjust one control at a time so you can identify whether distance, tempo, or springiness caused the improvement.
| Subject | Preset | Speed | Amplitude | Damping | Why |
|---|---|---|---|---|---|
| Hair or ribbon | Sway | 0.8 | 10 | 0.60 | Slow travel with a controlled root |
| Pudding or cheek | Jelly | 1.0 | 16 | 0.45 | Balanced elastic movement |
| Ear or tail | Bounce | 1.1 | 13 | 0.55 | Clear vertical return |
| Impact meme | Quake | 1.7 | 8 | 0.25 | Fast energy without huge travel |
Common failures and how to repair them
The most common failure is a mask that is too small. A tiny hard patch moves independently and exposes a visible seam. Enlarge it beyond the obvious feature, reduce strength at the outer edge, and keep the true anchor quiet. If the whole picture looks like camera shake, erase the background and other rigid areas.
A second failure is trying to fix weak paint with extreme amplitude. That stretches the selected pixels farther without improving the transition. Restore moderate amplitude, strengthen the flexible center, and preview again. If the edge doubles, raise damping or reduce amplitude before repainting everything. Compare a small hard mask, an over-painted background, and a corrected soft mask at the same animation frame to isolate the cause.
Advanced technique: build a layered mask without layers
Purupuru Maker stores brush strength inside the mask, so several passes can behave like a simple layered rig. Paint the free-moving center at 70–85%, the surrounding transition at 40–55%, and the attachment zone at 15–30%. This creates a gradient of response even though you are working on one image.
For hair, make separate soft islands for the left and right tips while leaving the scalp between them stable. For a character, animate an ear and tail with different mask sizes, then choose one preset that suits both. If their materials demand completely different timing, export separate versions instead of forcing one set of controls to solve both.
GIF, MP4, or WebM for the final result?
Purupuru Maker creates a compact GIF loop at a maximum 520-pixel canvas edge, using 24 frames at 20 frames per second. That predictable short result suits reactions and stickers. Browser-recorded MP4 or WebM captures a 30 FPS canvas clip for about 2.2 seconds and retains photographic color more efficiently.
File size depends on image detail, motion, color, and browser encoding, so there is no honest universal winner. Export all available formats from the same source and compare bytes, edge quality, color, and playback after the destination platform processes each file.
The natural-looking version usually has the larger, softer mask and the smaller movement. Anchor first, paint a graded response, compare presets with identical settings, and judge the downloaded loop at its real viewing size.